I'm drawn to vegetables of unusual colour and size. Bulbosities stare at me from shop shelves and I can't help but stretch out for them. They make great paintings - you can get away with wild imperfections on the canvas too - and become beautiful ornaments for the middle of the table.
The best thing is, once you've had enough of painting, you can cook them.
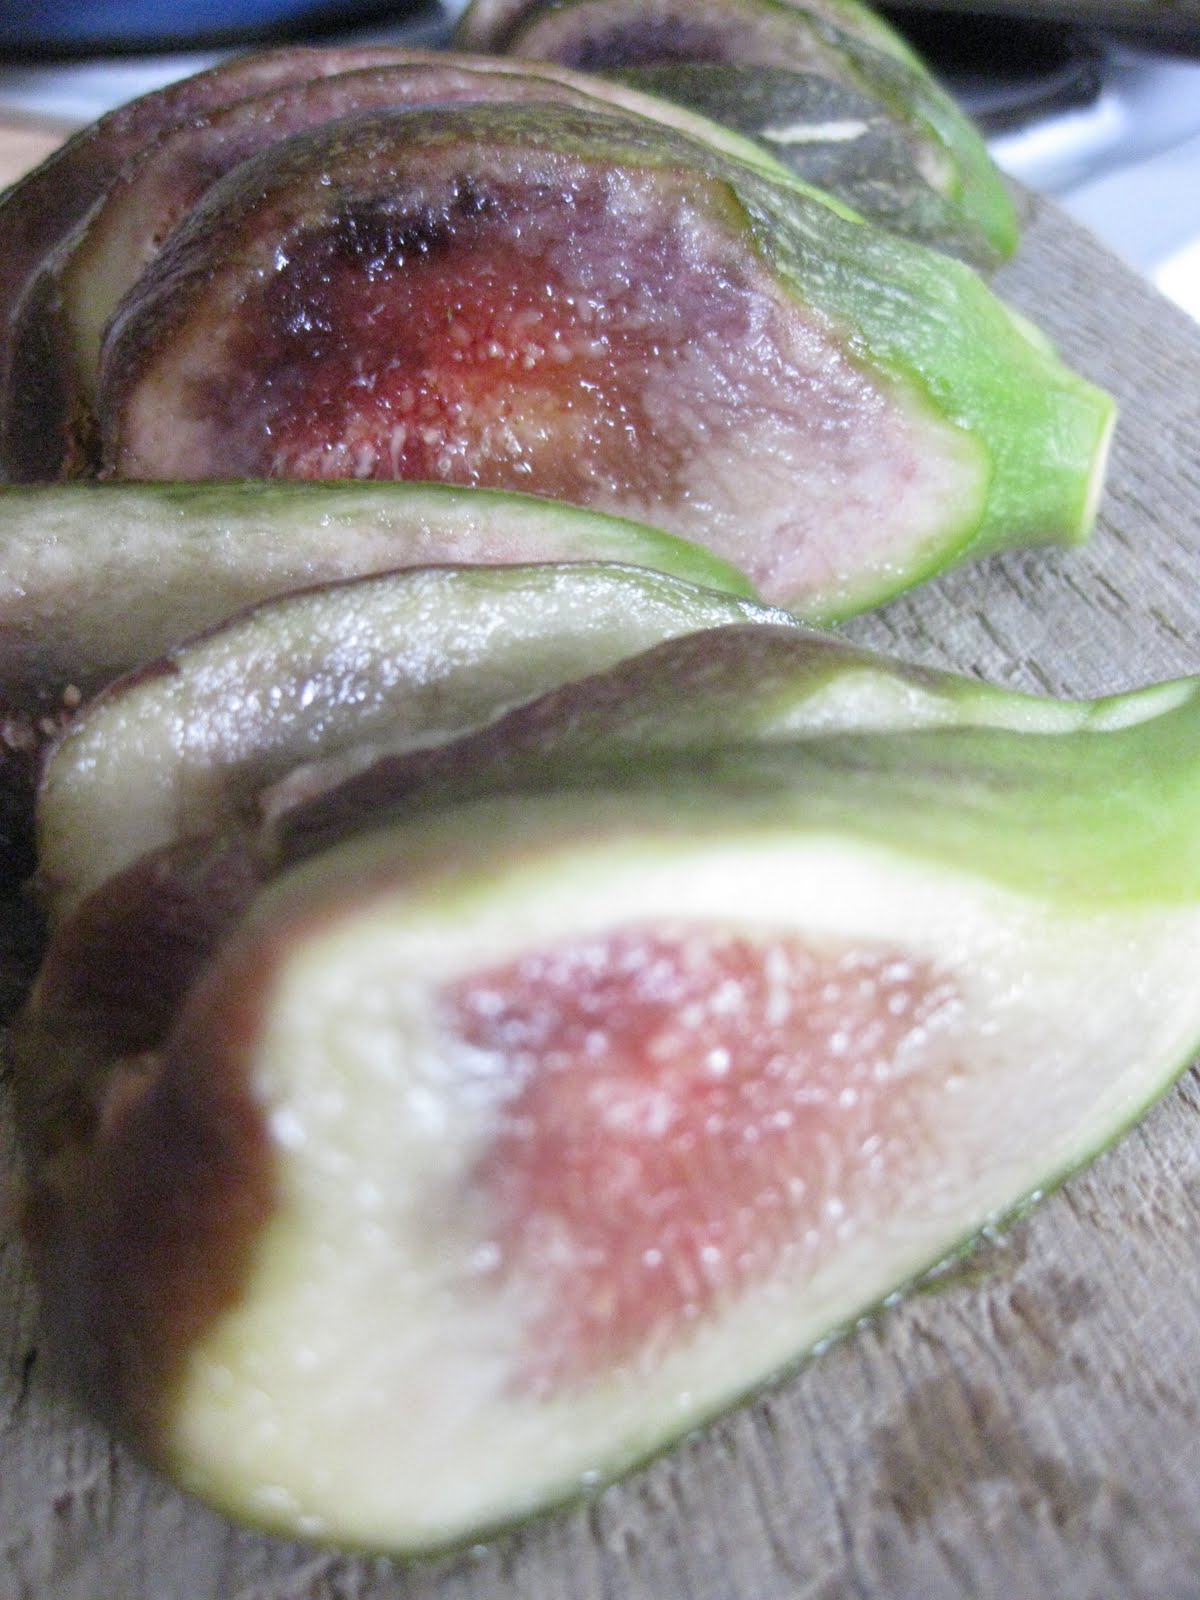
Umbria has buckets of choice with local farms and Agriturismi pushing forward the overripe uglies - long pointy radicchio, tiny green figs and bunches of scarlet onions stalks still on. My baskets are breaking at the straps.
These fat and round aubergines - pale pink, mauve, deep purple and deadly nightshade - are my favourite and make for a wonderful Melanzane Parmigiana, dished up for lunch with salad and ham.
MELANZANE PARMIGIANA
Baked aubergines
serves 6-8
ingredients
1 red onion, finely chopped
2 cloves garlic, crushed
2 tins good quality chopped tomatoes
dried herbs, chopped (oregano, rosemary, thyme)
salt and pepper
5 tsps olive oil
2-3 large round aubergines, sliced
large handful basil leaves, torn
200g block Parmesan, grated
100g breadcrumbs
200g mozzarella
Preheat the oven to 180C.
Add a little drizzle of olive oil to a saucepan and add the onion. Fry over a medium heat until soft. Add the garlic and dried herbs and tomatoes and cook for 10 minutes until the sauce has reduced and tastes sweet.
Add the olive oil to a large frying pan or griddle and whack up the heat. Lay on the aubergine - cooking in batches if necessary - and fry evenly on both sides. You want to char slightly. Once you've done the lot, set aside.
Once you have cooked down the tomatoes, ladle a layer of the sauce into the bottom of an oven-proof dish (I used a 30 x 30cm dish). Follow with a layer of aubergine and a layer of grated Parmesan. Continue this process until you use up the remaining sauce and aubergines, finishing with a generous layer of Parmesan. Evenly scatter over the breadcrumbs. Tear up the mozzarella over the crumbs as a final layer.
Place the dish in the oven and bake for 25 minutes until the top is golden and bubbling.